|
In this lab session we will use NXT to build and program Braitenberg
vehicles as e.g. 1, 2a and 2b, Figure 1, [1], [2].
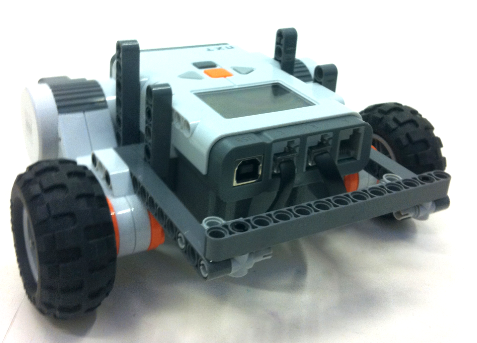
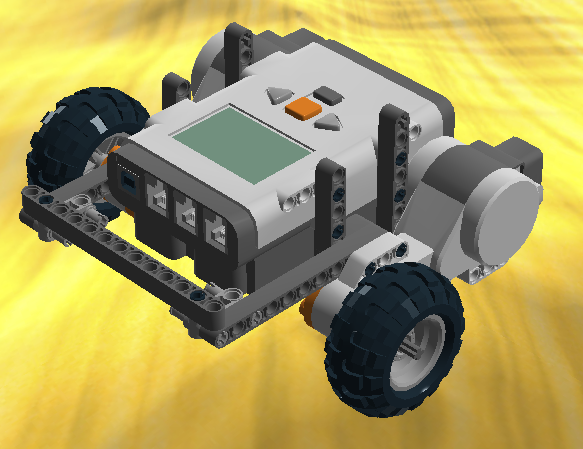
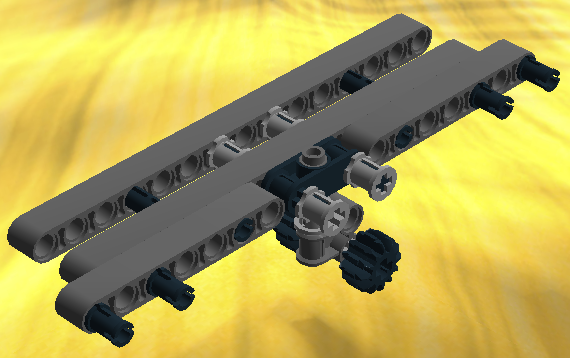
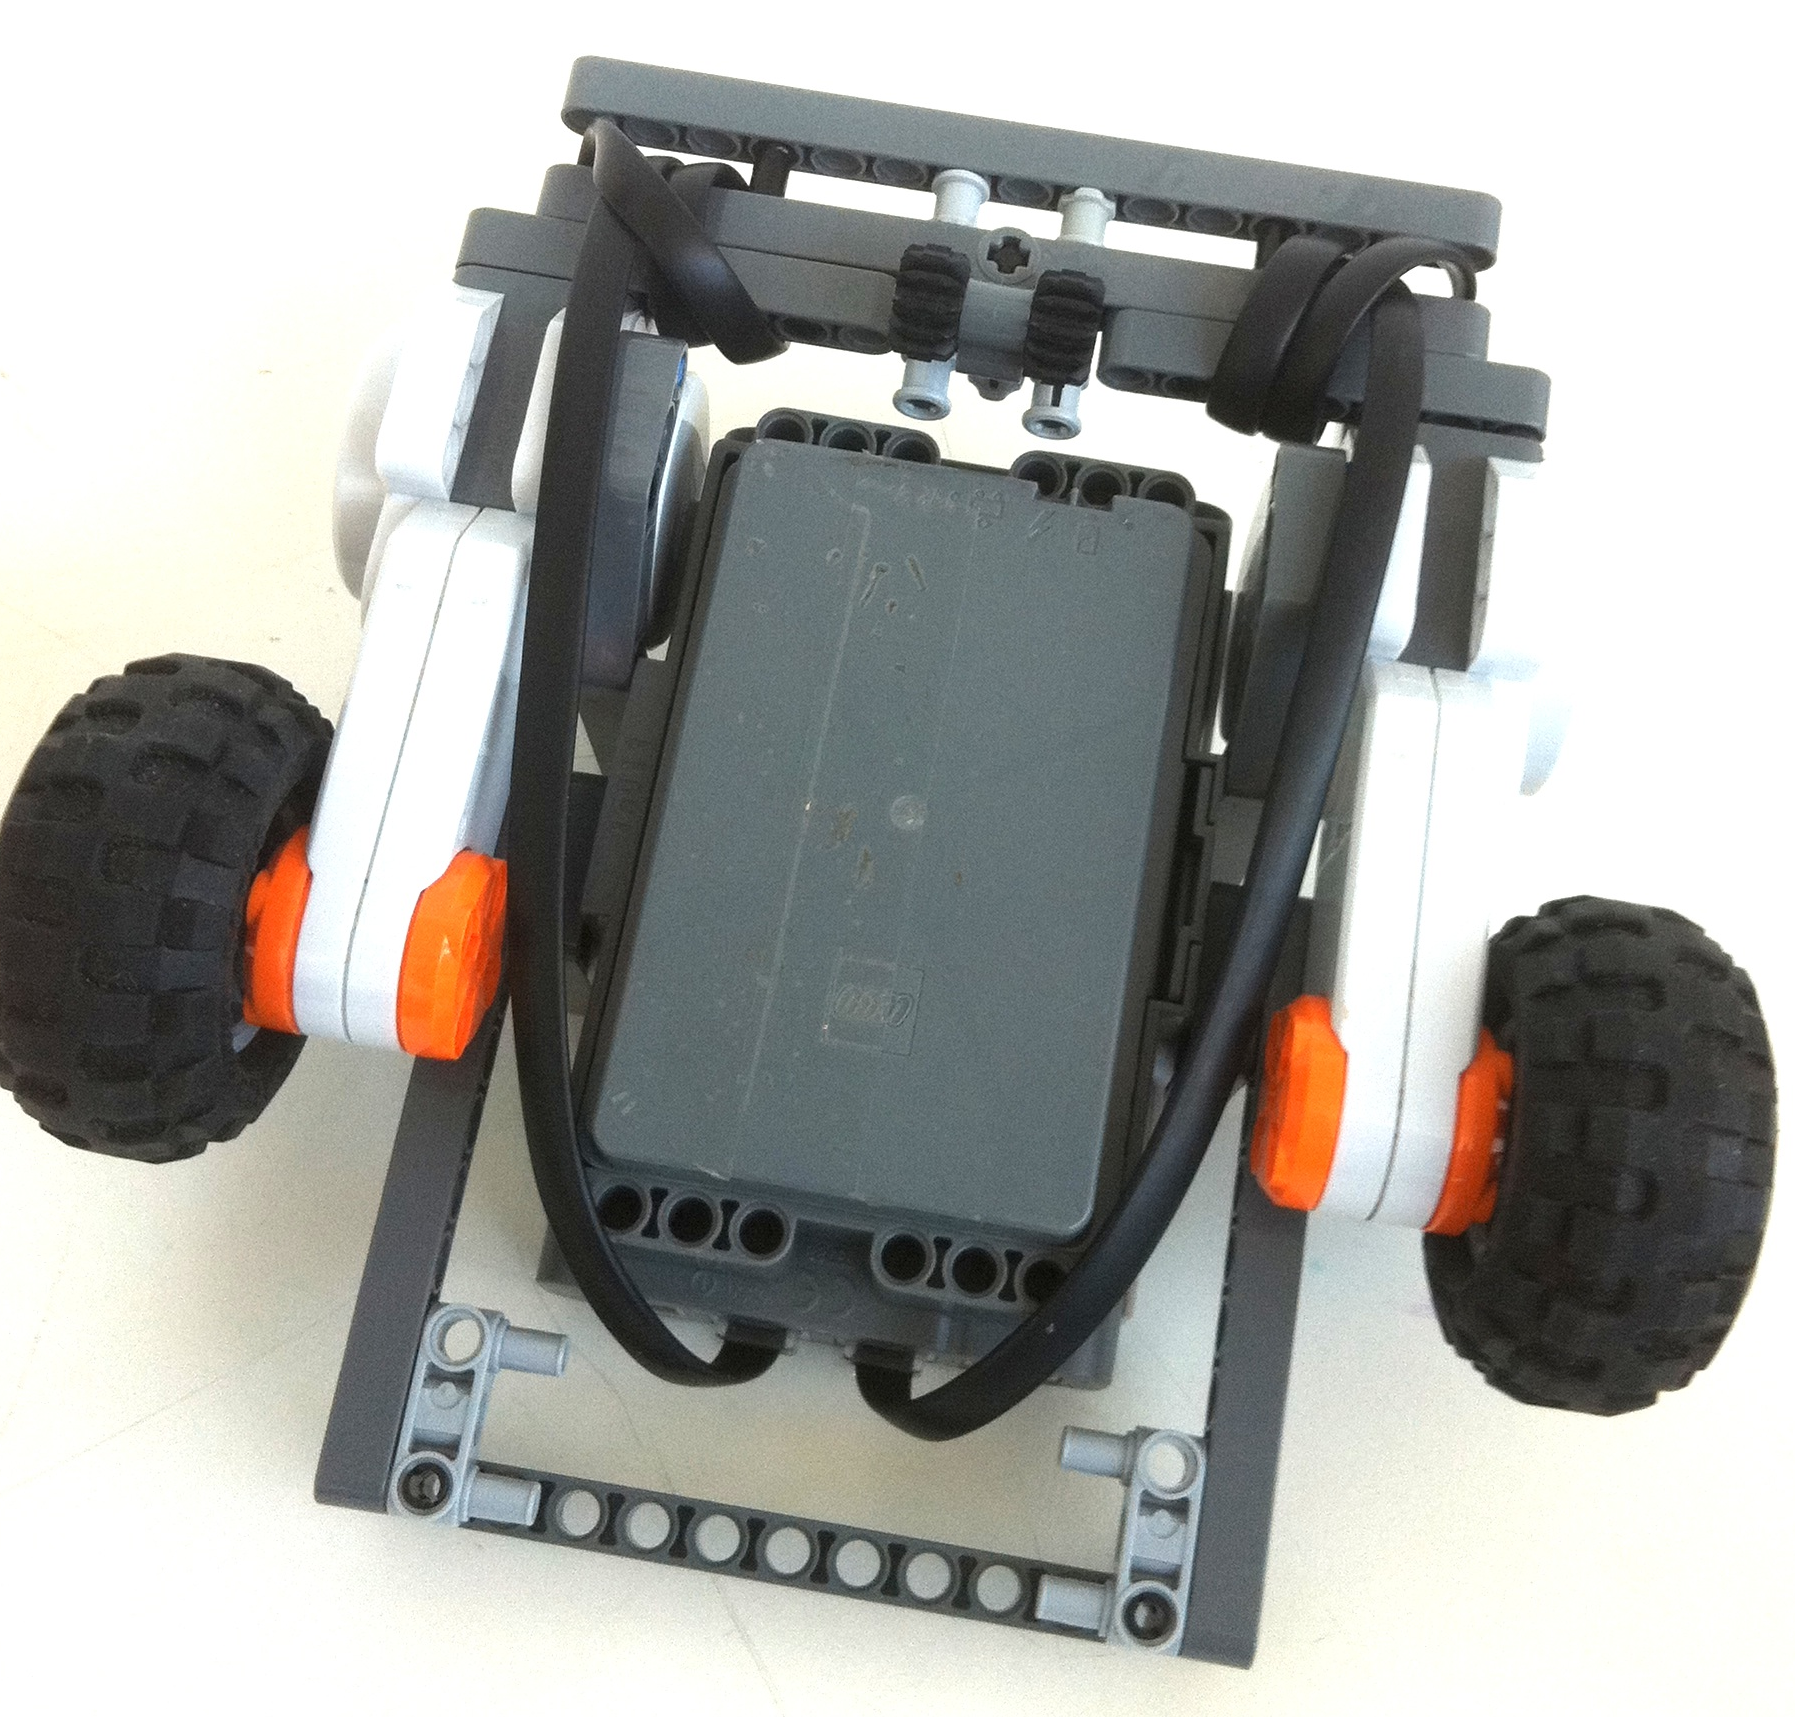
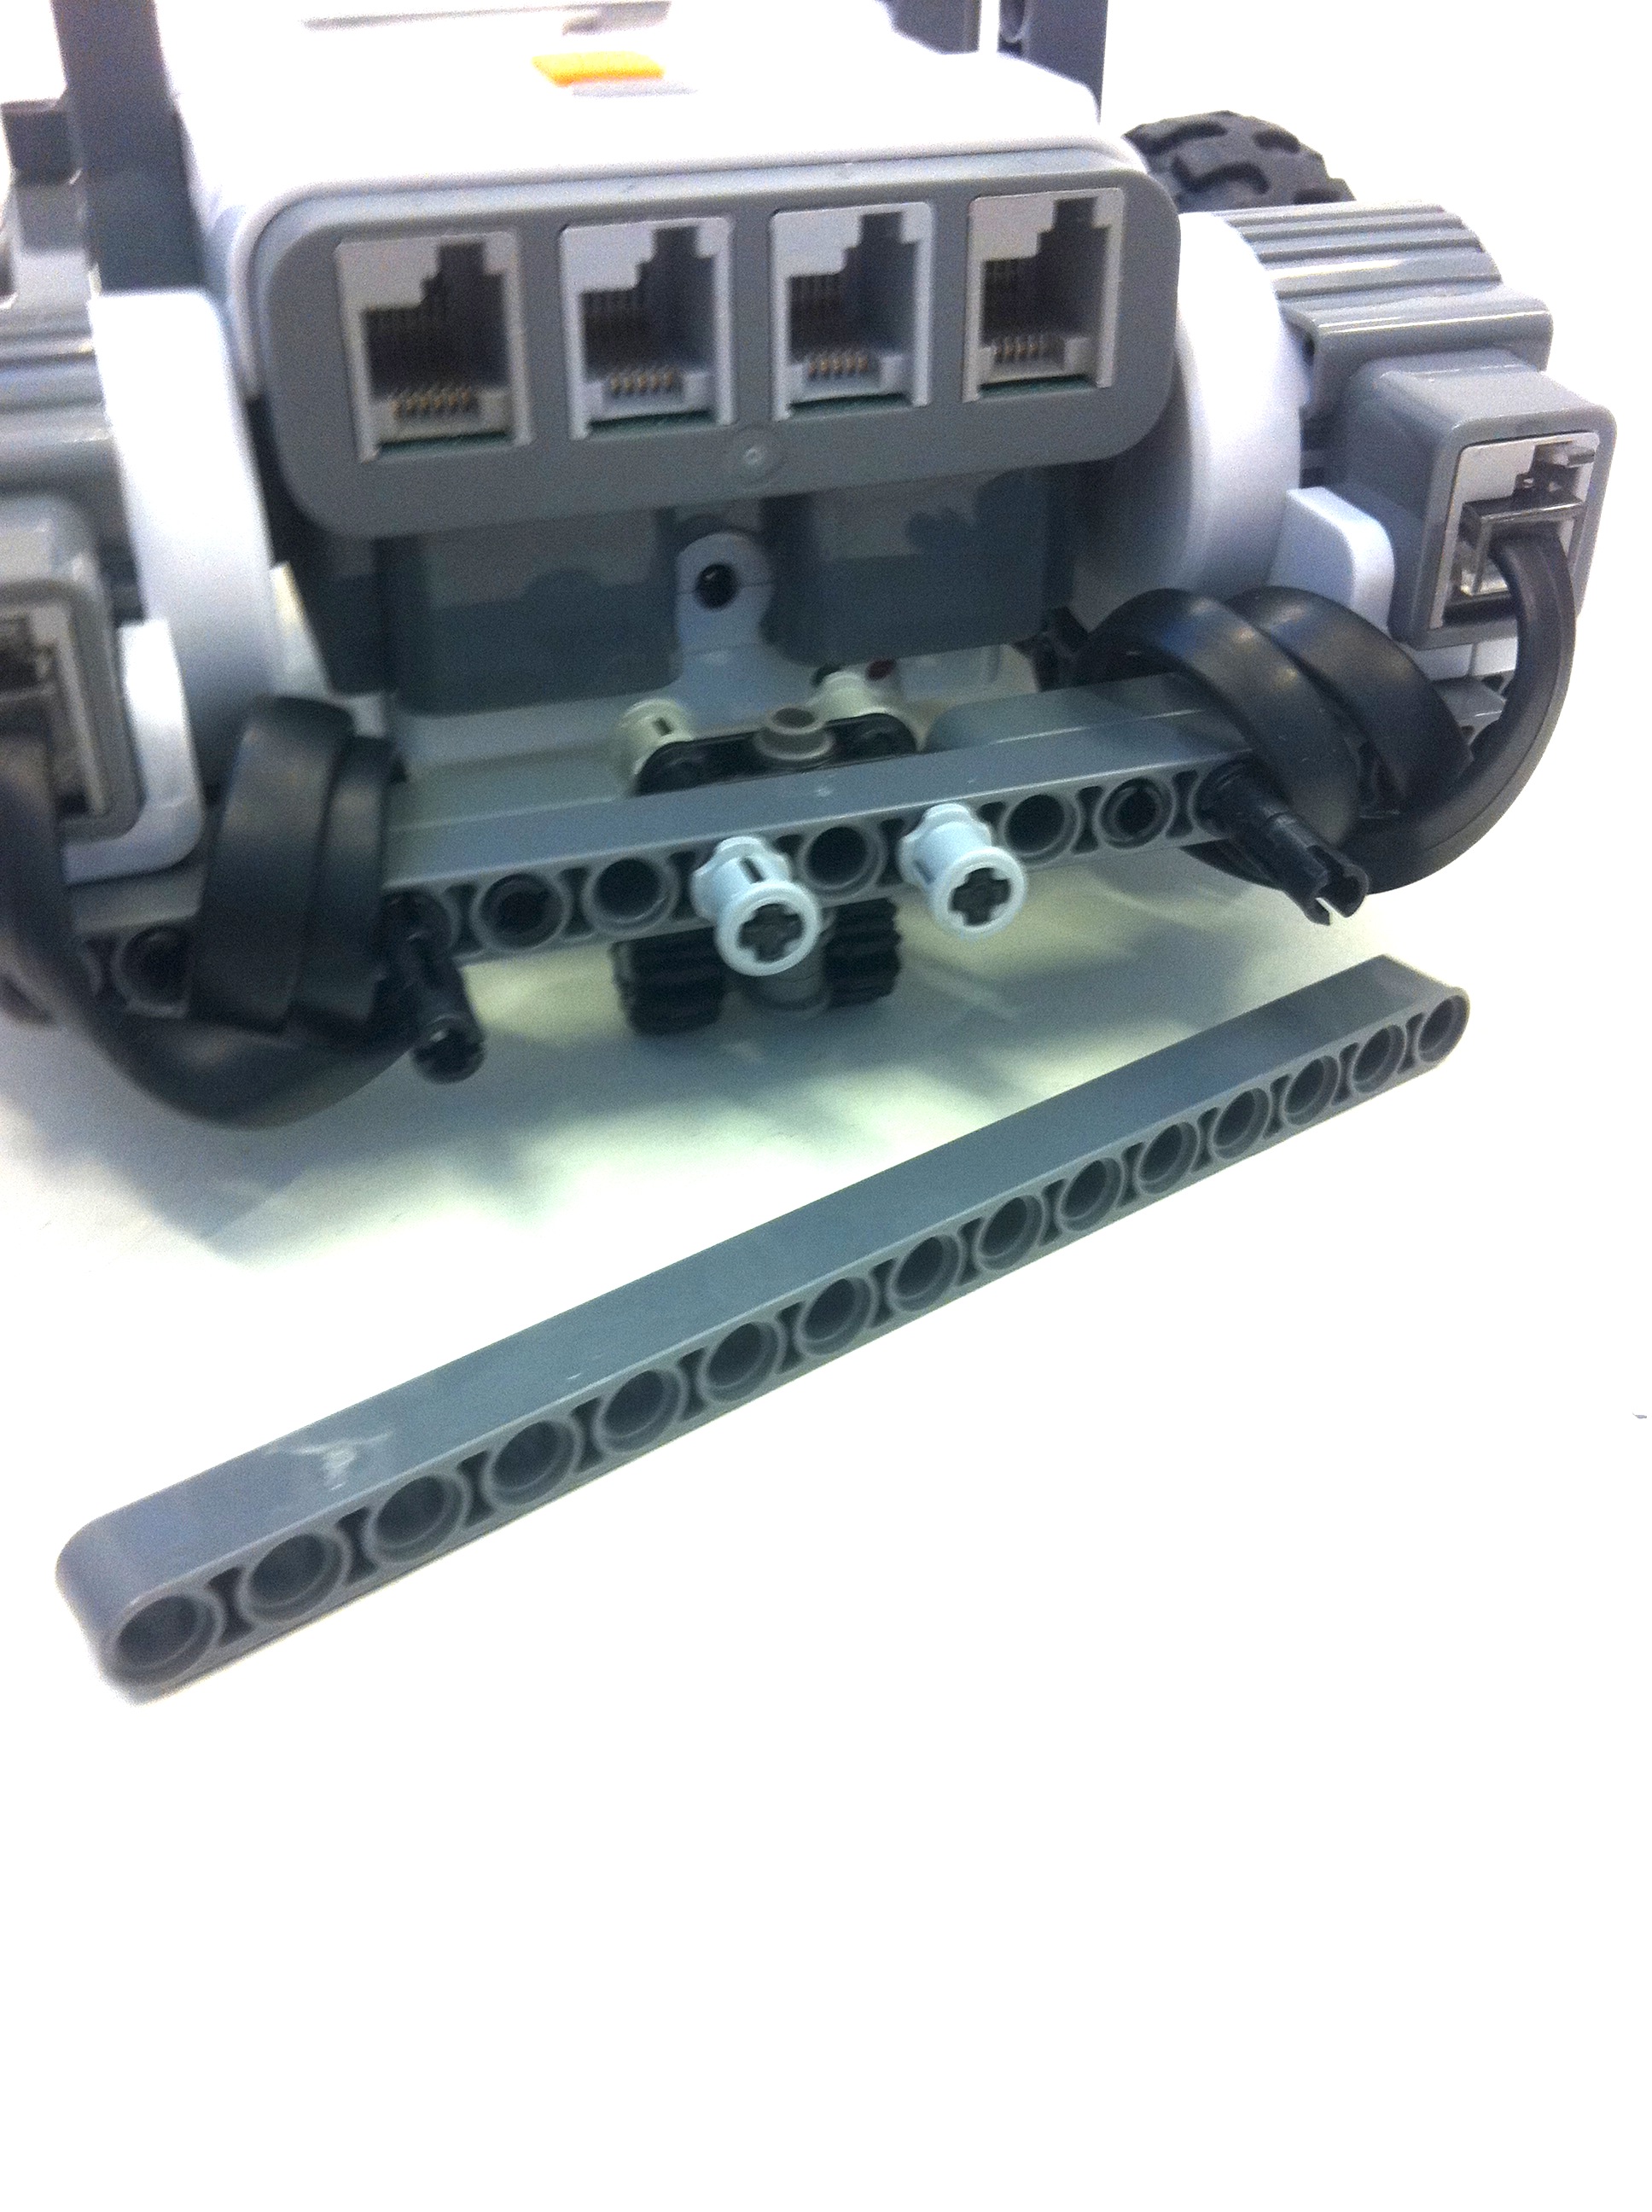
Use Tom Dean's notes, [2, 3], to understand the three vehicles and use his notes to implement the three vehicles. Building Instructions for a Base VehicleBased on the ideas in Express bot, a fotobased building instructions for a base car with extensions, a simple LEGO base vehicle can be build (click on the image to see details):The base vehicle consist of the two modules: a base car and a rear castor wheel (click on the images to see details): The two modules can be build after the Lego Digital Designer (LDD) building instructions: Base.lxf, and Rear.lxf. The two modules are assembled as follows with a motor wiring that prevent wires to stick out (click on the images to see details):
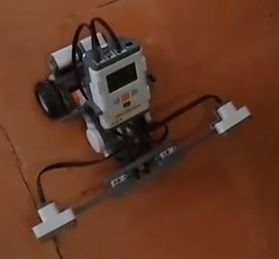
Vehicle 1Start with vehicle 1. As sensor use a sound sensor to implement a vehicle that moves faster forward the louder the environment sound is. Use two motors to drive the vehicle and apply the same power to the two motors. The main issue is how to map sensor values to motor power. If raw sensor values are used, the mapping should be from the range 0, 1023 to the motor power range, i.e. 0, 100. Also try to map to motor powers between -100, 100 and interpret negative motor powers as moving the motors backwards. How would you describe the resulting behaviours?In the vehicles of Figure 1 all connections are marked with a +. This means the more of the measured quantity, e.g. sound, the more motor power. These connections are called exitatory connections. Braitenberg also use connections marked with a - to mean an inhibitory connection, the more the less. Implement this kind of connection and investigate the behaviour with an inhibitory connection on vecicle 1. How would you describe the resulting behaviour? Try to play music and make mappings from the sound sensor to the two motors that will make the vehicle "dance" to the music, like you see in the beginning of the video in Figure 2.
Vehicle 2In the two vehicles, 2a and 2b, use e.g. two light sensors mounted in the front, Figure 3.
Again make sure to define the mappings between sensor range and motor power. Try with both exibitory and inhibitory connections and describe the resulting behaviours, e.g. as seen in Figure 4.
Put a lamp on top or rear of your vehicle 2a or 2b with two light sensors and try to see what happends when several vehicles are put close together e.g. on a floor in a dark room, Figure 5.
In Tom Deans description, [3], the variables Two ultrasonic sensors can also be used in vehicle 2a and 2b, e.g. mounted as in Figure 6.
On the video in [7] the vehicle both avoids and bumps into objects. Can you explain that based on the physics of the robot seen in Figure 6. Can you improve on that? Vehicle 3In Figure 7 vehicle 3 is shown. It has two kinds of sensors. Try to use light and ultrasonic sensors (or maybe sound sensors to give the Party Finder from Lesson 3 another try). How would you combine the different motor power values comming from the two kind of sensors?
|